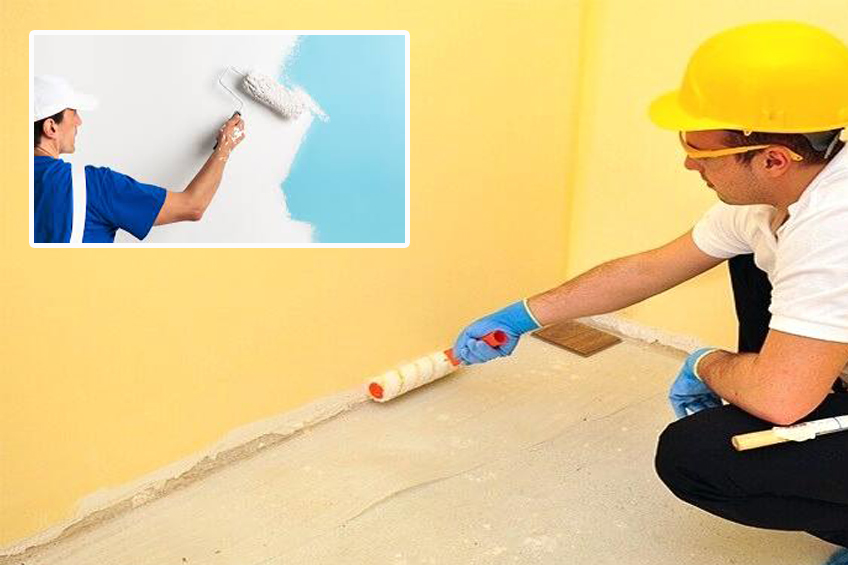
Foundation of a Perfect Finish
The Foundation of a Perfect Finish “preparing-the-surface, One of the most critical steps in painting is surface preparation. No matter how high-quality your paint is, it will not adhere well to a dirty, uneven surface. Here’s what you need to do to prepare your walls or other surfaces:

- Clean the Surface: Dust, grease, and grime can prevent paint from sticking evenly. Use a mild detergent or a specific cleaner depending on the surface type.
- Sand Rough Areas: Sanding helps to smooth out imperfections. For old painted surfaces, lightly sand the entire wall to help the new paint grip better.
- Repair Cracks and Holes: Use spackle or filler to fix cracks, holes, or dents. Allow it to dry completely, then sand it down for a smooth finish.
- Priming: Applying a primer is essential, especially for new drywall or when you’re painting over a darker color. Primer helps the paint adhere and provides a uniform base, making your topcoat look smoother and more vibrant.

2. Choosing the Right Paint: Quality Matters “choosing-the-right-paint”
Not all paints are created equal. The type of paint you choose can have a significant impact on the final look and durability. Here’s what to consider when selecting the best paint:
- Finish Options: Choose between flat, eggshell, satin, semi-gloss, and high-gloss depending on the room and the look you want. High-traffic areas like kitchens and bathrooms often benefit from semi-gloss or satin finishes, which are easier to clean.
- Color Selection: Light colors can make a space feel bigger, while darker shades add coziness and drama. Don’t forget to test small patches on the wall to see how the color looks in different lighting.
- Eco-Friendly Paints: Many brands offer low-VOC or no-VOC options for a healthier environment inside your home. These paints emit fewer harmful chemicals and are perfect for families or people with sensitivities.

3. The Best Tools for the Job: Brushes, Rollers, and More <a name=”the-best-tools-for-the-job”
Choosing the right tools is as important as selecting the right paint. Here’s what experts recommend:
- Brushes: Use high-quality brushes for cutting in around edges and corners. For smooth finishes on trim or wood, angled brushes work best.
- Rollers: For larger surfaces, rollers are your go-to tool. Make sure to choose the correct nap length for your surface. A short nap roller works well on smooth walls, while a longer nap is ideal for textured surfaces.
- Paint Sprayers: If you’re tackling large or outdoor projects, a paint sprayer can give you a uniform finish quickly, though it does take some practice.
4. Mastering the Application Technique: Brush and Roller Skills <a name=”mastering-the-application-technique”
Proper technique can make a huge difference in achieving a professional-grade finish. Follow these guidelines for a flawless result:
- Use the “W” Pattern: When rolling paint, use a “W” pattern and then fill in the gaps. This method distributes paint evenly and prevents roller marks.
- Feather Your Edges: Avoid visible lap marks by feathering the edges where you’ve already applied paint. Lightly roll over the edges to blend the strokes.
- Brush Strokes: When using a brush, make long, smooth strokes. Don’t overload the brush with paint; too much paint can lead to drips and uneven application.

5. Handling Corners, Edges, and Trim Like a Pro handling-corners-edges-and-trim”
Corners, edges, and trim often present challenges for even experienced painters. Here’s how to handle these areas:
- Cutting In: Before rolling, use a small brush to “cut in” the paint along edges, corners, and around trim. A steady hand and a quality brush can save time on taping.
- Masking Tape: If you’re less confident about cutting in freehand, apply painter’s tape to protect trim and other areas. Just be sure to remove the tape before the paint fully dries to avoid peeling.
- Painting Trim: Use a smaller brush for trim and take your time to achieve clean lines. Consider using a high-gloss paint for trim to make it stand out.
6. Layering the Paint: The Importance of Multiple Coats layering-the-paint
Most surfaces require at least two coats of paint for an even, durable finish. Here’s why layering is important:
- Consistency: The first coat often doesn’t provide full coverage, especially if you’re painting over a darker color. A second coat ensures consistent coverage and color richness.
- Durability: Multiple coats add strength and durability to the surface, ensuring it stands up to wear and tear over time.
- Time Between Coats: Allow each coat to dry completely before applying the next. This prevents streaking and uneven texture.

7. Drying Time and Finishing Touches: Patience is Key drying-time-and-finishing-touches”
Patience plays a key role in achieving a stunning finish. Here’s what to keep in mind:
- Drying Time: Follow the manufacturer’s recommended drying time between coats. This can range from a few hours to overnight, depending on the type of paint and environmental conditions.
- Finishing Touches: Once the final coat is dry, inspect the surface for any missed spots or imperfections. Touch up these areas carefully.
8. Cleaning Up Properly: Maintaining Tools for Future Projects <a name=”cleaning-up-properly
Proper cleanup not only preserves your tools but also saves you money in the long run. Follow these steps:
- Brushes and Rollers: Rinse brushes and rollers with warm soapy water if using latex paint. For oil-based paints, clean them with mineral spirits or paint thinner.
- Storage: Store leftover paint properly by sealing the can tightly. Label it with the color and date for future touch-ups.
9. Common Mistakes to Avoid for a Flawless Finish“common-mistakes-to-avoid”>
Avoid these common painting pitfalls to ensure a smooth, professional look:
- Skipping Primer: Never skip the primer, especially when covering dark colors or porous surfaces.
- Overloading the Brush/Roller: Too much paint can lead to drips and uneven coverage. Dip the brush or roller lightly and tap off excess paint.
- Rushing the Job: Take your time and follow proper drying times. Rushing through can result in an uneven finish.
Your Path to a Stunning Paint Job
Painting your home doesn’t have to be overwhelming. By following these expert tips—preparing the surface, choosing quality materials, mastering application techniques, and avoiding common mistakes—you can achieve a stunning, professional finish that will transform your space. Happy painting!